You would need the following to set up a gmail relay on Postfix:
-
An app password obtained from your Gmail account. It will be effectively your Gmail SMTP password.
-
Admin privilege on a Linux box to set up Postfix server. Outbound internet access is required.
Google App Password
App passwords let you sign in to your Google Account from apps that don’t support 2-Step Verification. This post from Google explains how to obtain an app password.
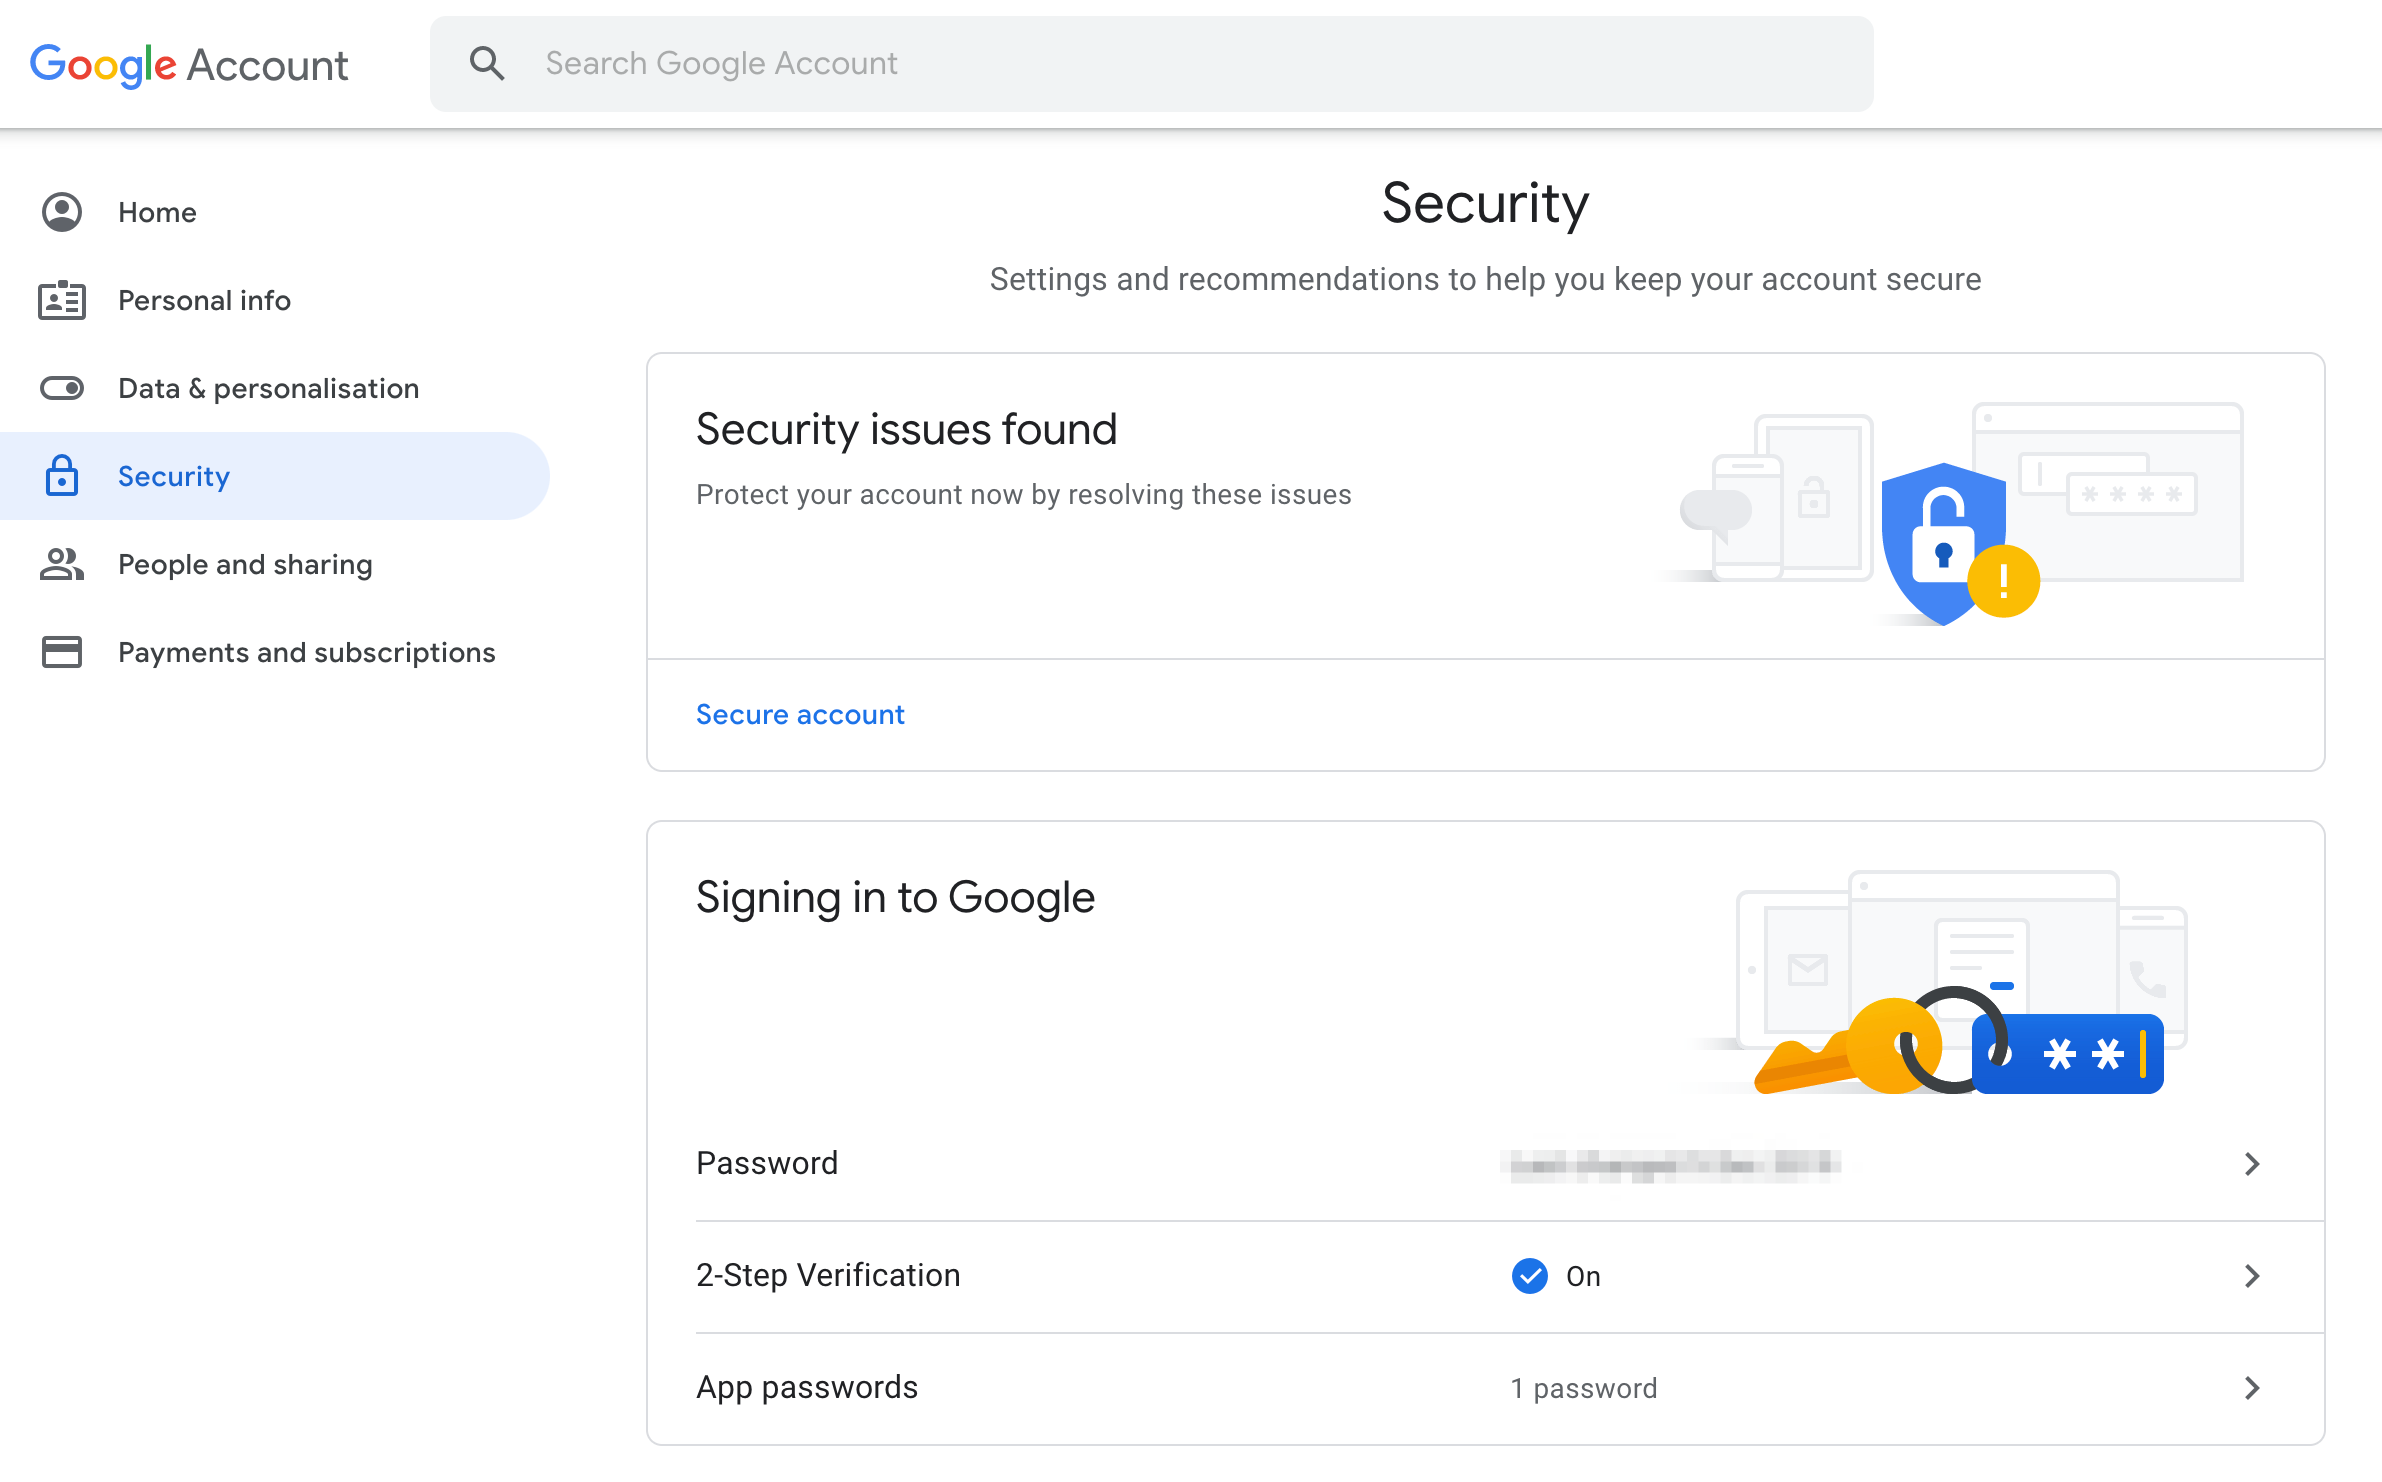
Essentially, first you need to go to Google Account and enable two Factor Authentication. Without enabling 2FA, app password option is disabled on Google.
Then click on ‘Security’ from the left, click on ‘App passwords’ under ‘Signing in to Google’ and click on ‘Generate’ button, here you go. Copy the password as we will need it later.
The rest of the post is using Ubuntu as an example, but the approach should work for most recent Linux distro in general.
Postfix
Postfix can be easily installed on almost any Linux distro. On Ubuntu, run:
sudo apt install libsasl2-modules postfix ;
Then create a file /etc/postfix/sasl/sasl_passwd. Copy the following line into the file, replacing your@gmail.com with your actual Gmail; abcdefghijk123 with your actual app password.
[smtp.gmail.com]:587 your@gmail.com:abcdefghijk123
Run:
sudo postmap /etc/postfix/sasl/sasl_passwd ;
If all went well, you have a new file as /etc/postfix/sasl/sasl_passwd.db. It’s what Postfix will be reading from for Gmail SMTP authentication.
Secure the passwords
Both sasl_passwd and sasl_passwd.db contain plain text of your app password, to secure the access, you need to:
sudo chown root:root /etc/postfix/sasl/sasl_passwd /etc/postfix/sasl/sasl_passwd.db ;
sudo chmod 0600 /etc/postfix/sasl/sasl_passwd /etc/postfix/sasl/sasl_passwd.db ;
Setting up
Postfix’s main configuration file is /etc/postfix/main.cf. See the following my own configuration for your reference.
-
myhostnameindicates the hostname of the Postfix -
mynetworksis the IP CIDRs that are allowed to relay mails through Postfix. It should only contain your local networks -
smtp_sasl_password_mapsis where the sasl_passwd file is located -
relayhostis the server name and port
Edit the values respectively.
For security reason, do not expose Postfix service to anywhere outside of your trusted networks.
In the example above, I am allowing anonymous SMTP authentication from mynetworks. The argument can be made that attackers will be after more valuable targets than fiddling with Postfix relay service provided the local network is compromised.
Testing and Troubleshooting
When config file is done, reload Postfix configurations without having to restart the service:
sudo postfix reload ;
For SMTP testing, I personally like to use swaks, a purpose-built Perl script.
With swaks installed, it will be just a one-liner to send out a testing mail:
./swaks \
    --server <your-postfix-server-ip> \
    --port 25 \
    --from yourmail@gmail.com \
    --to anymailbox@wherever.com \
    --h-Subject: "Hello world" \
    --body 'Testing some Mailgun awesomness!'
If you suspect something went wrong, go check the logs:
sudo tail -f /var/log/syslog ;
# and
sudo tail -f /var/log/mail.err ;
That’s it!
On a side note, there are lots of tweaks can be done on the Postfix end depending on what you need to achieve, but this simple guide should be able to get you started quickly.
Let me know if you have any questions or comments. On my post I will be discussing setting up a Mailgun relay. Stay tuned!