TL;DR
This post will show you how to build and deploy a voice-activated app on Google Cloud in 10 minutes. The app will respond to your voice command and even play a piece of pre-defined music for you! Not a bad way to celebrate someone’s birthday eh? :-)
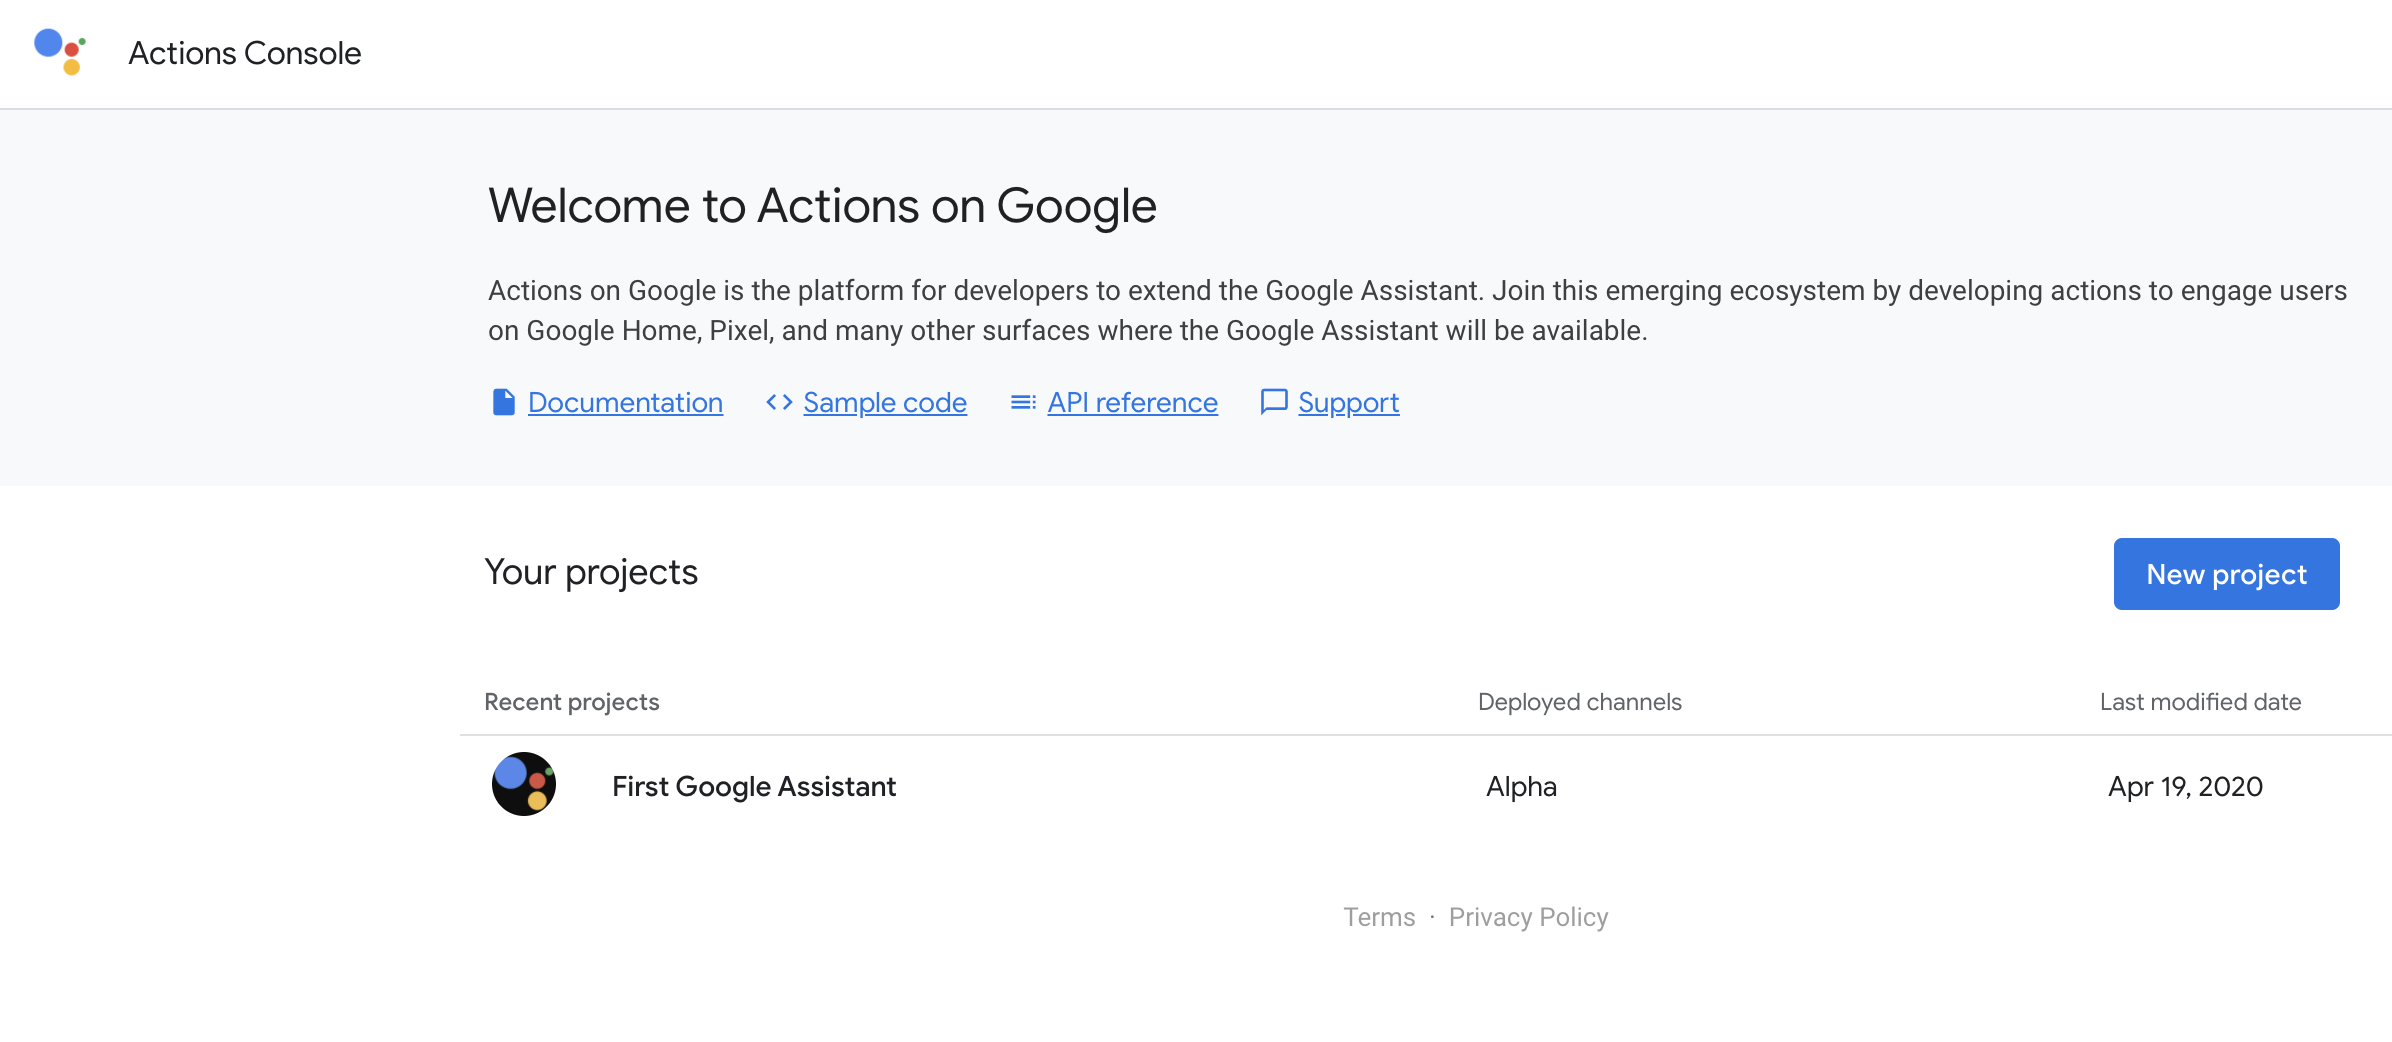
Create a New Project on Google Actions Console
The app is built on Google Cloud using Google Actions and Dialogflow. If you don’t have a Google Actions account yet, click here to create a new one. It’s free.
When the account is ready, go ahead and create a new project. Google Actions allows you to add Actions to any existing GCP projects, but we will create being creating a new project for simplicity.
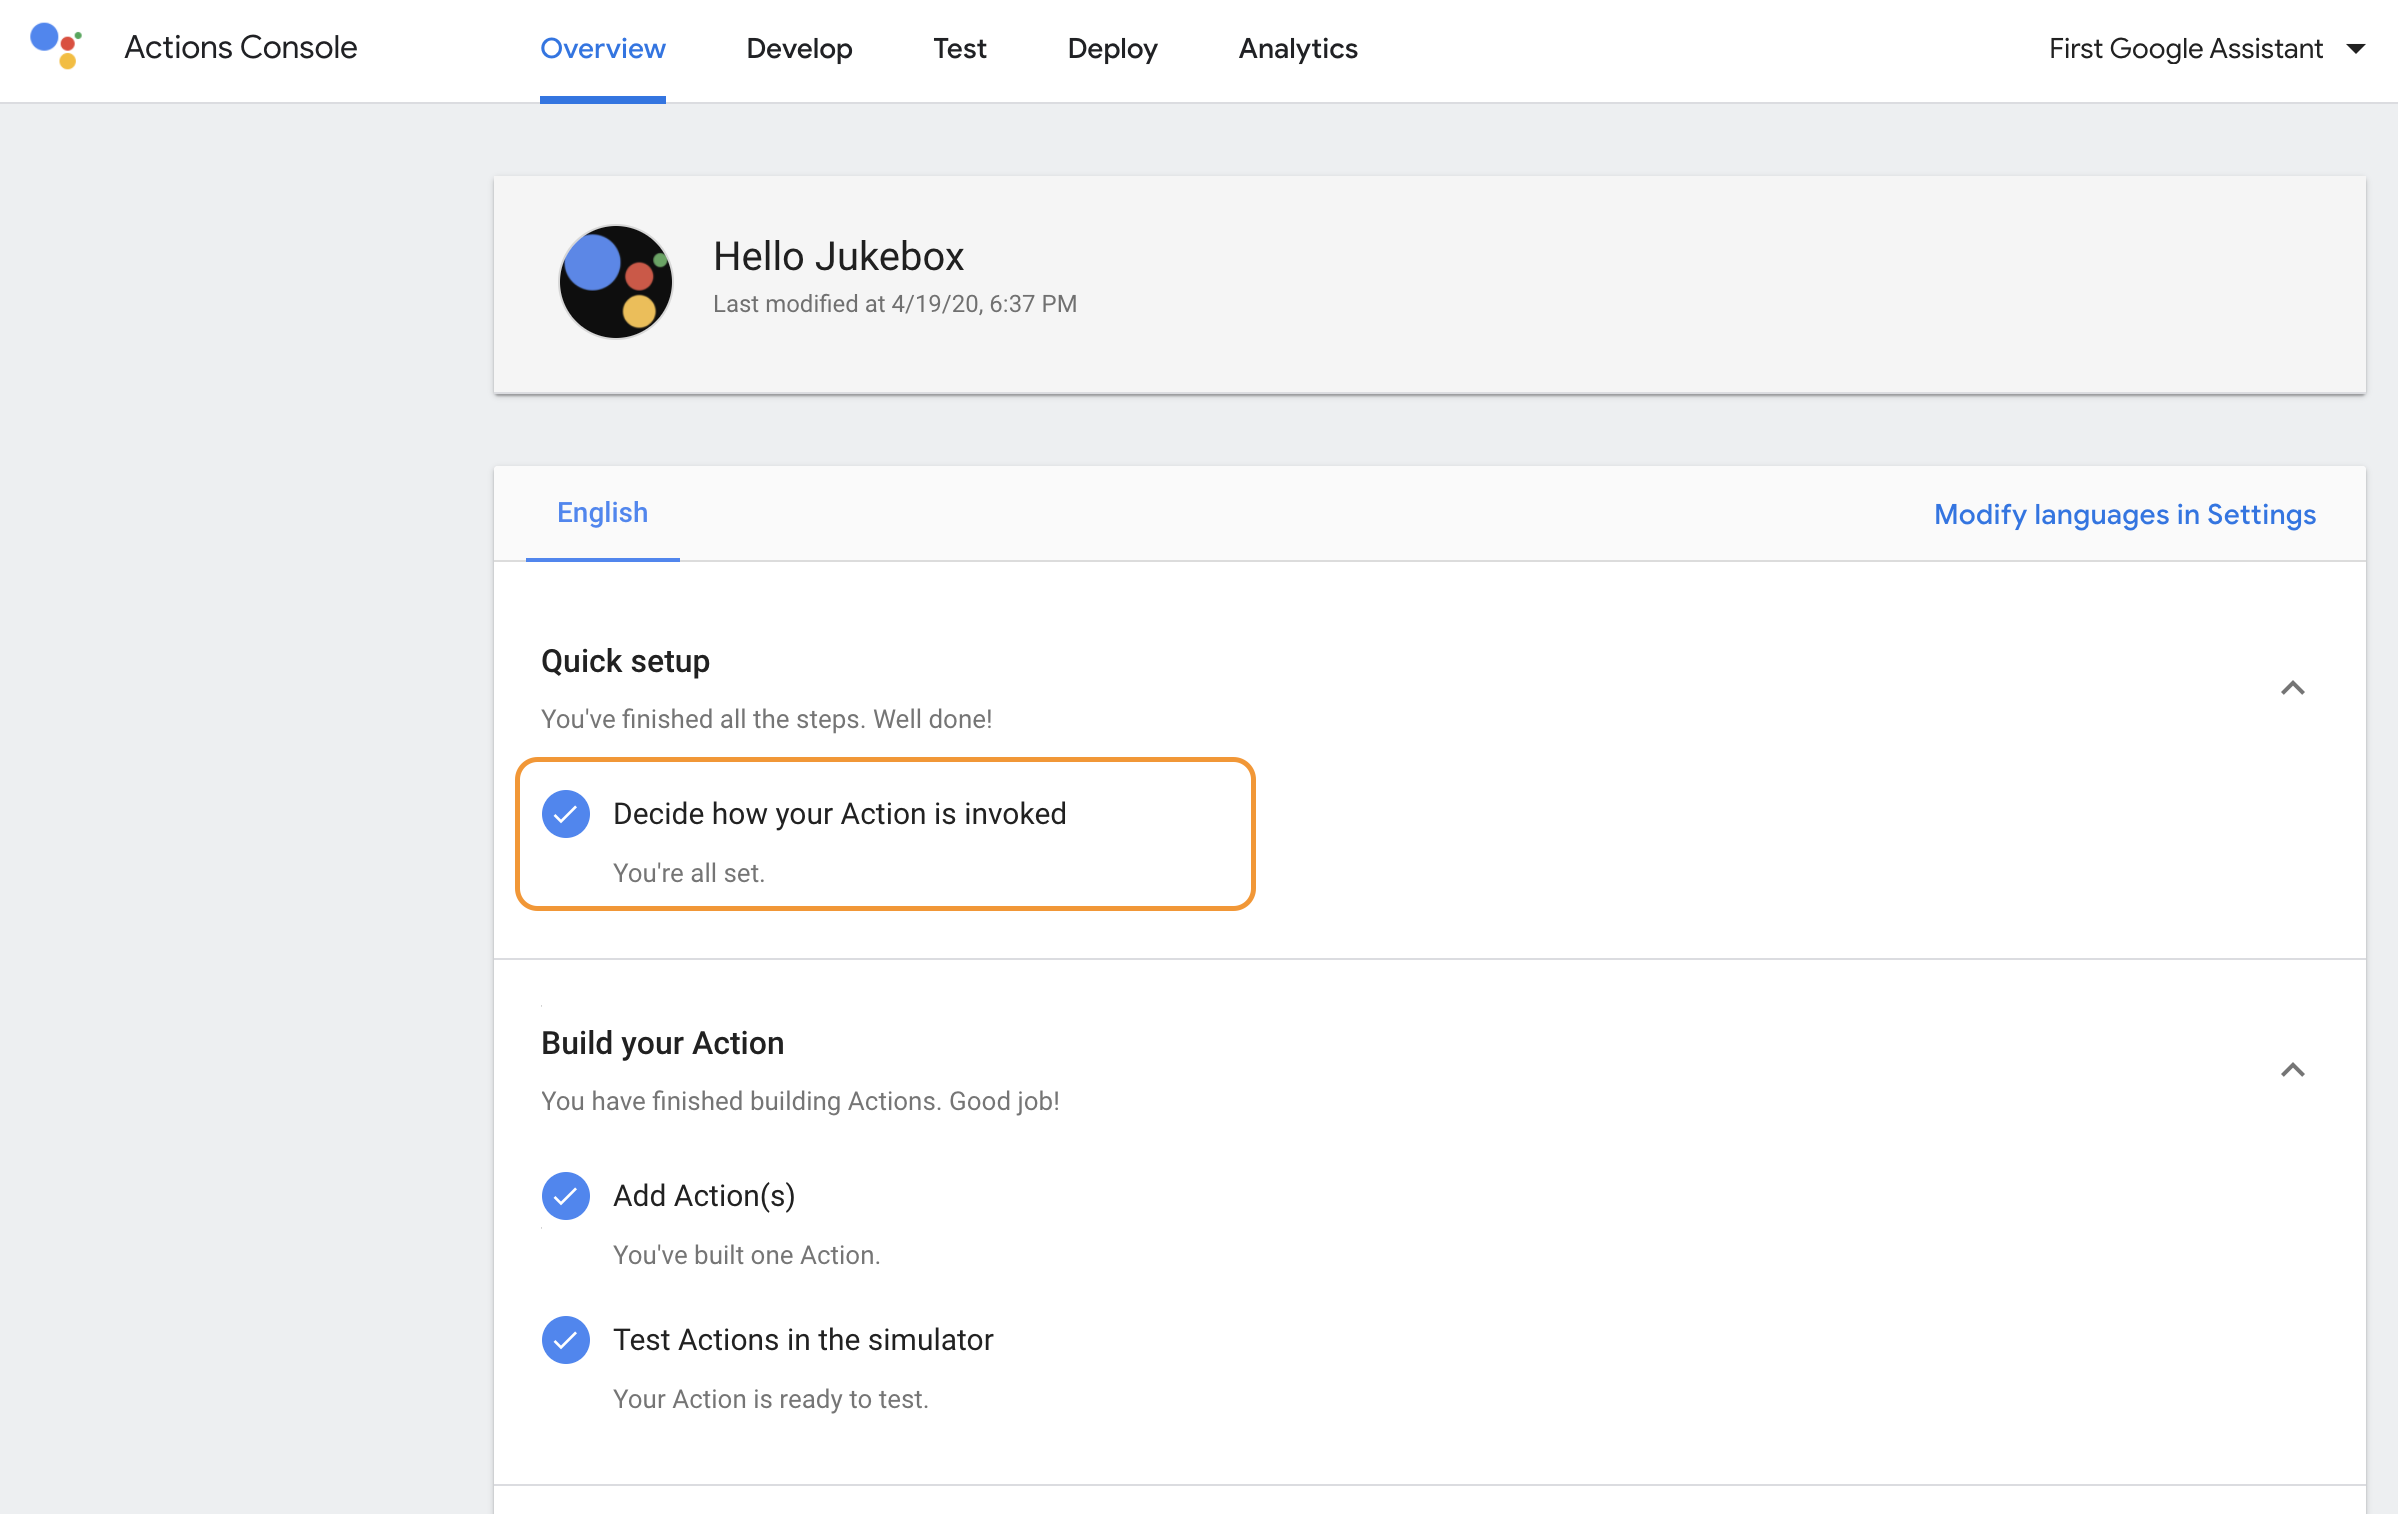
Specify a Catchy Name for Your App
Determine an activation phrase for the app so that every time when you say it, your app will be activated on the Google Home device.
Go to the project dashboard, click on “Quick setup” followed by “Decide how your action is invoked” and put the app name here. It may reject your phrase name if it’s considered too common or ambiguous, e.g. “Hello” is not a good choice here.
Let’s say the app is called “Hello Jukebox”.
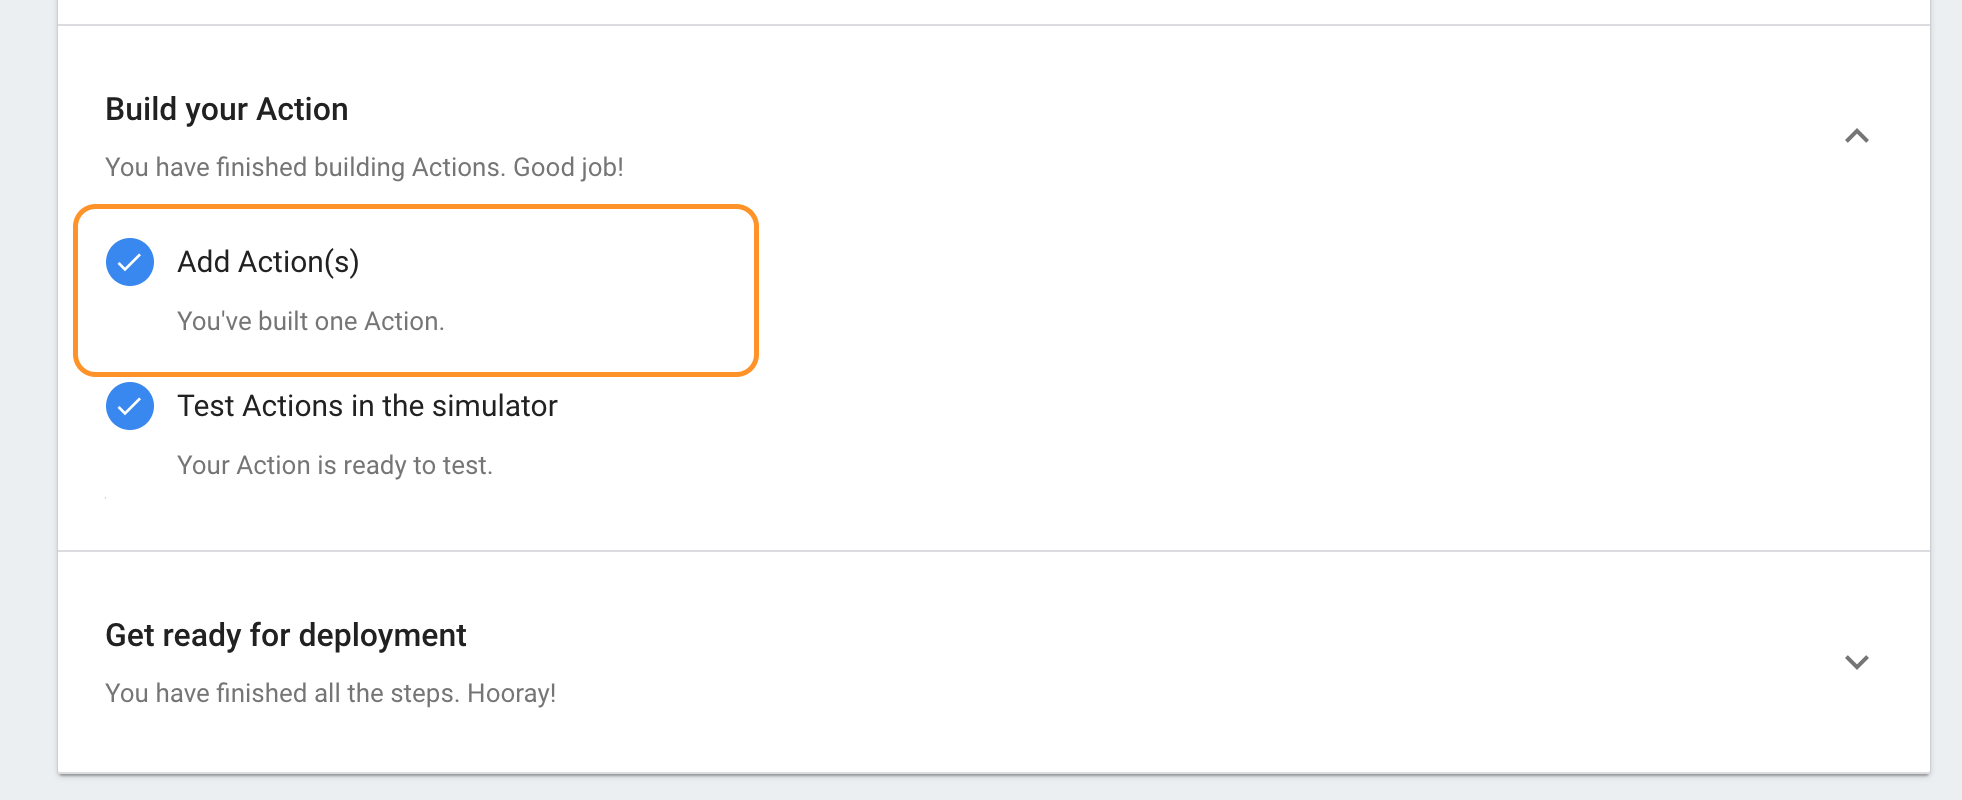
Add Actions to Your App
An app is only as smart as what it’s taught. There is no secret sauce in here. This app will respond to voice commands and act accordingly based on the “Intent”. “Intent” is a Google term referring to a combination of voice command and its corresponding response.
Within an app, developers can create as many intents as they want so long as no intent is stepping on one another’s toes. For example, trying to create two separate intents both responding to the same command “what is my favoriate color” would be confusing to begin with.
Within an intent, developer can decide on the kind of response it needs to provide: it can be as simple as having Google Home say some words or be more complicated with custom logic.
Use Case 1: Simple Voice Commands and Text Responses
Scroll down the Actions dashboard until the Fulfillment section, click on “Edit in Dialogflow” and click on the Intents. Start adding intents.
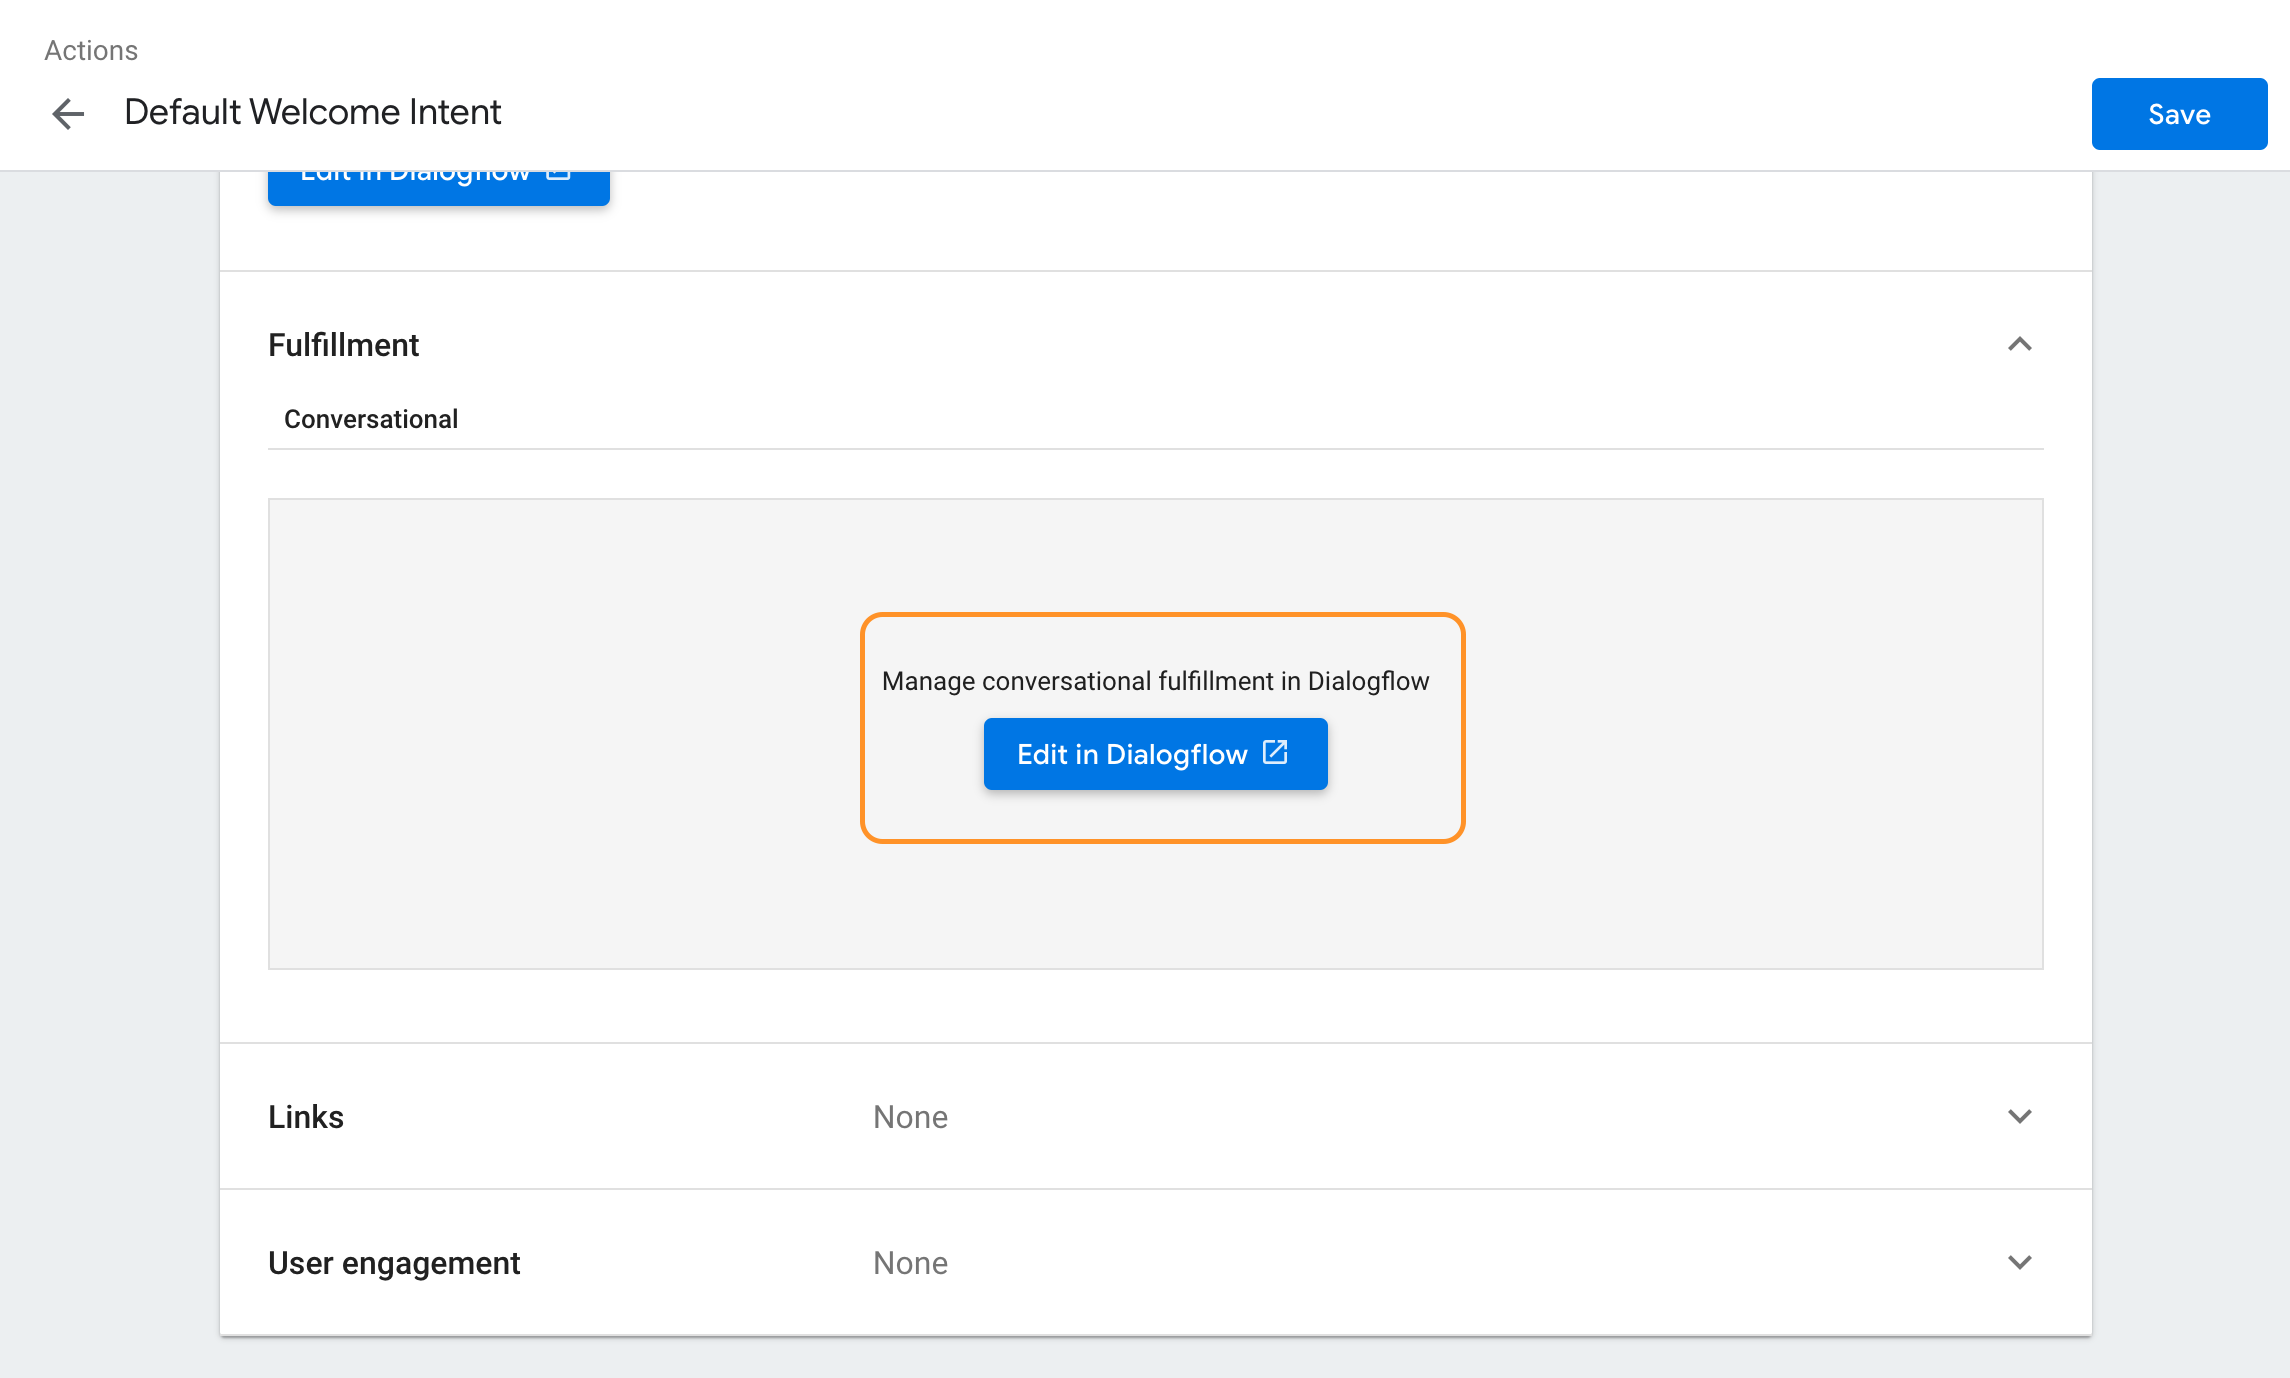
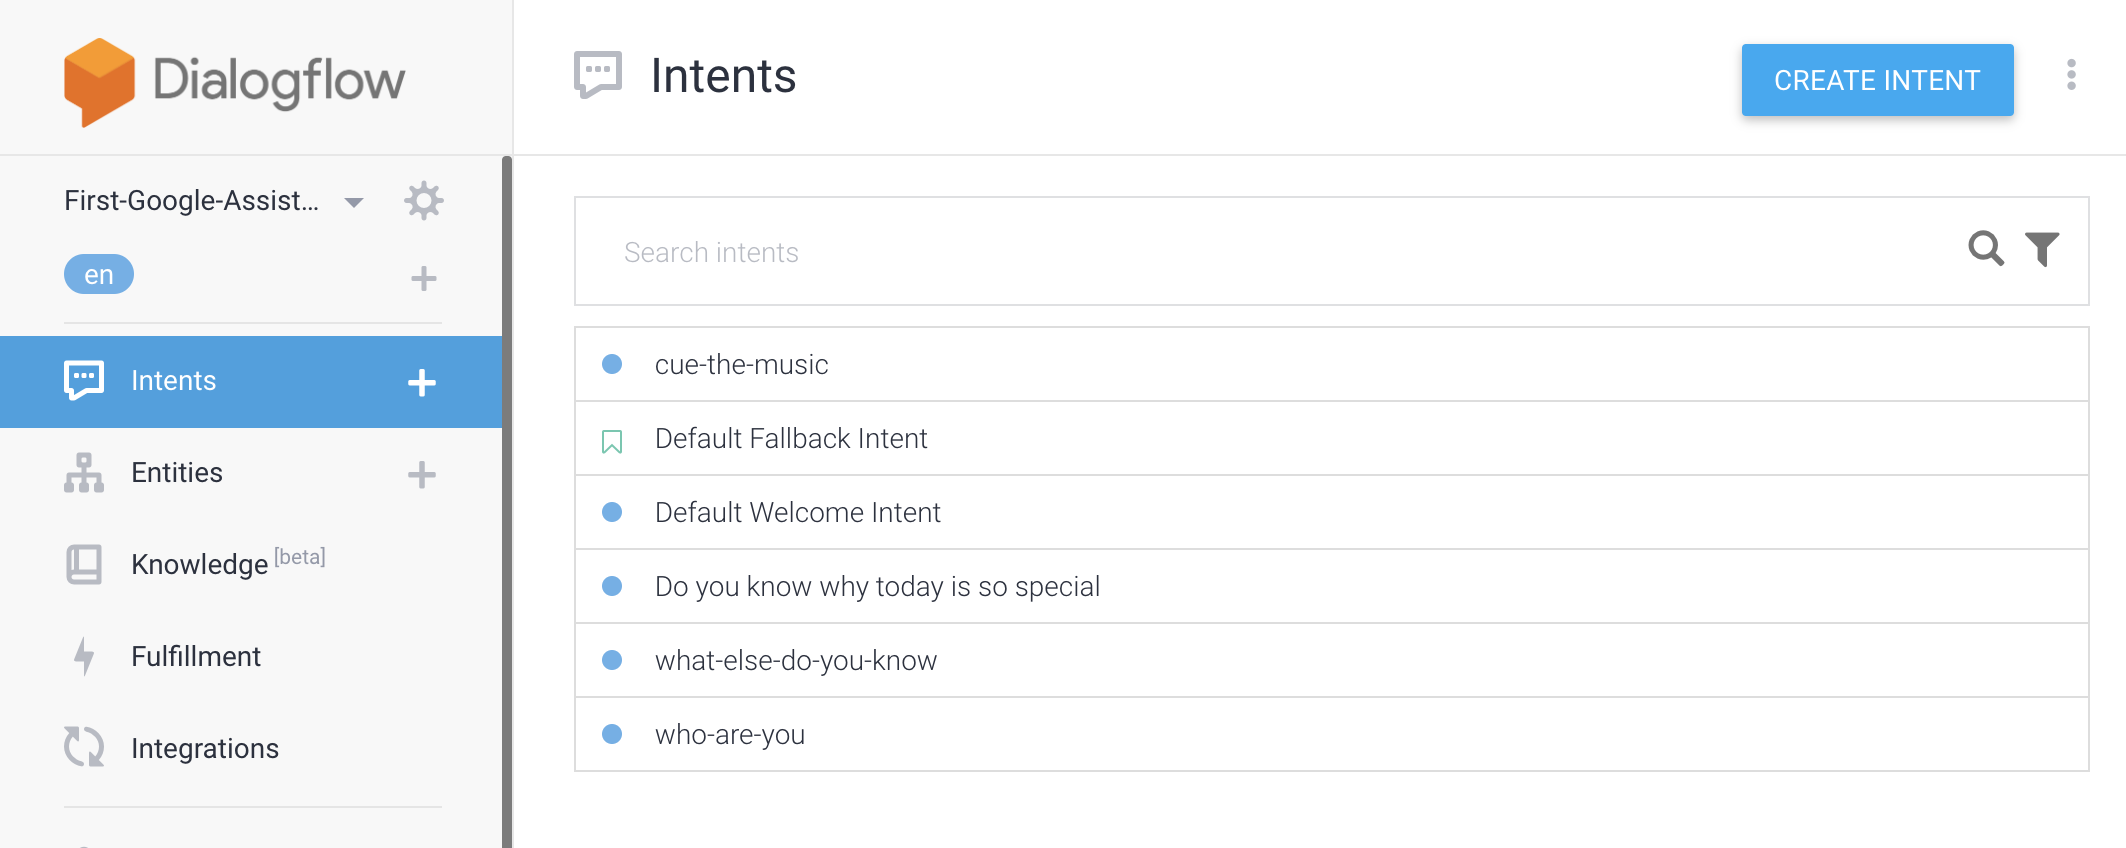
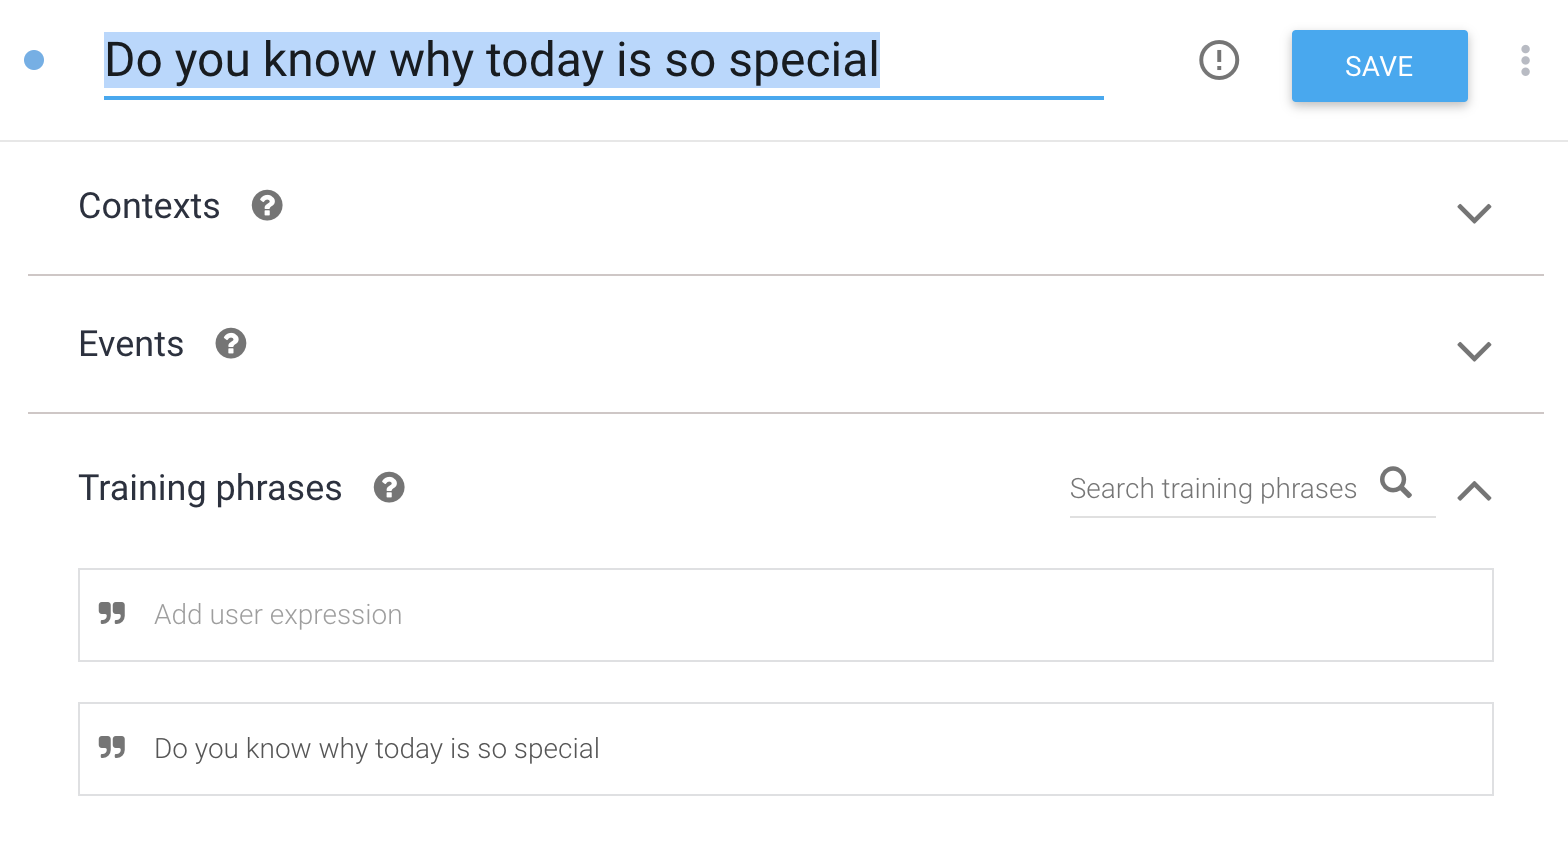
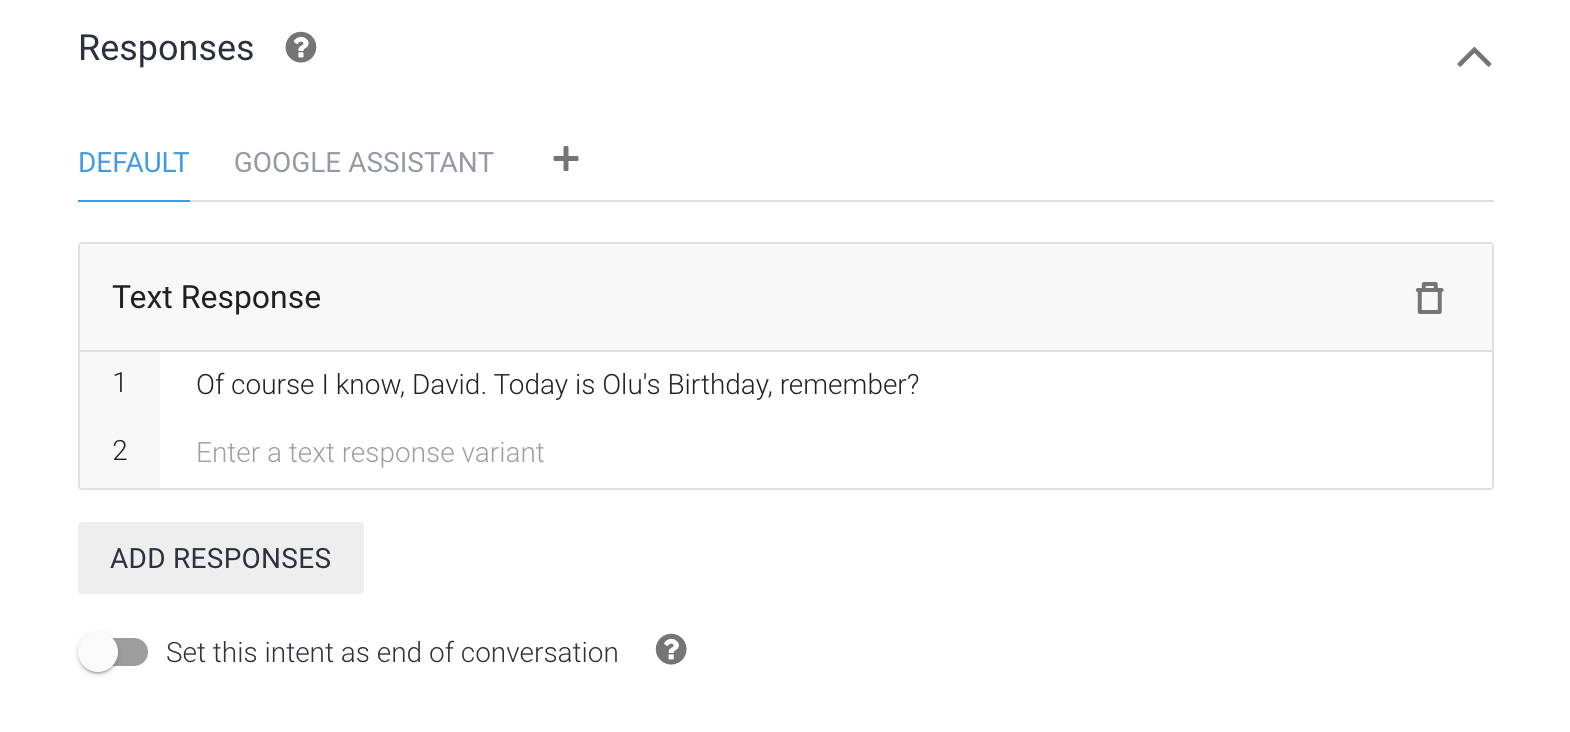
For example, you may want to create an intent called “special-intent”, add “Do you know why today is so special” as voice command and add “Of course I know, David” as text responses to the intent. Those are what you would say to the app and what the app will say back respectively.
Use Case 2: Implement custom logic using Cloud Function
The second use case is enabling webhook in an intent and developing a handler for it.
This approach allows you to implement custom logic for an intent. GCP supports either running your custom code on a Cloud Function or calling an external web service you specify.
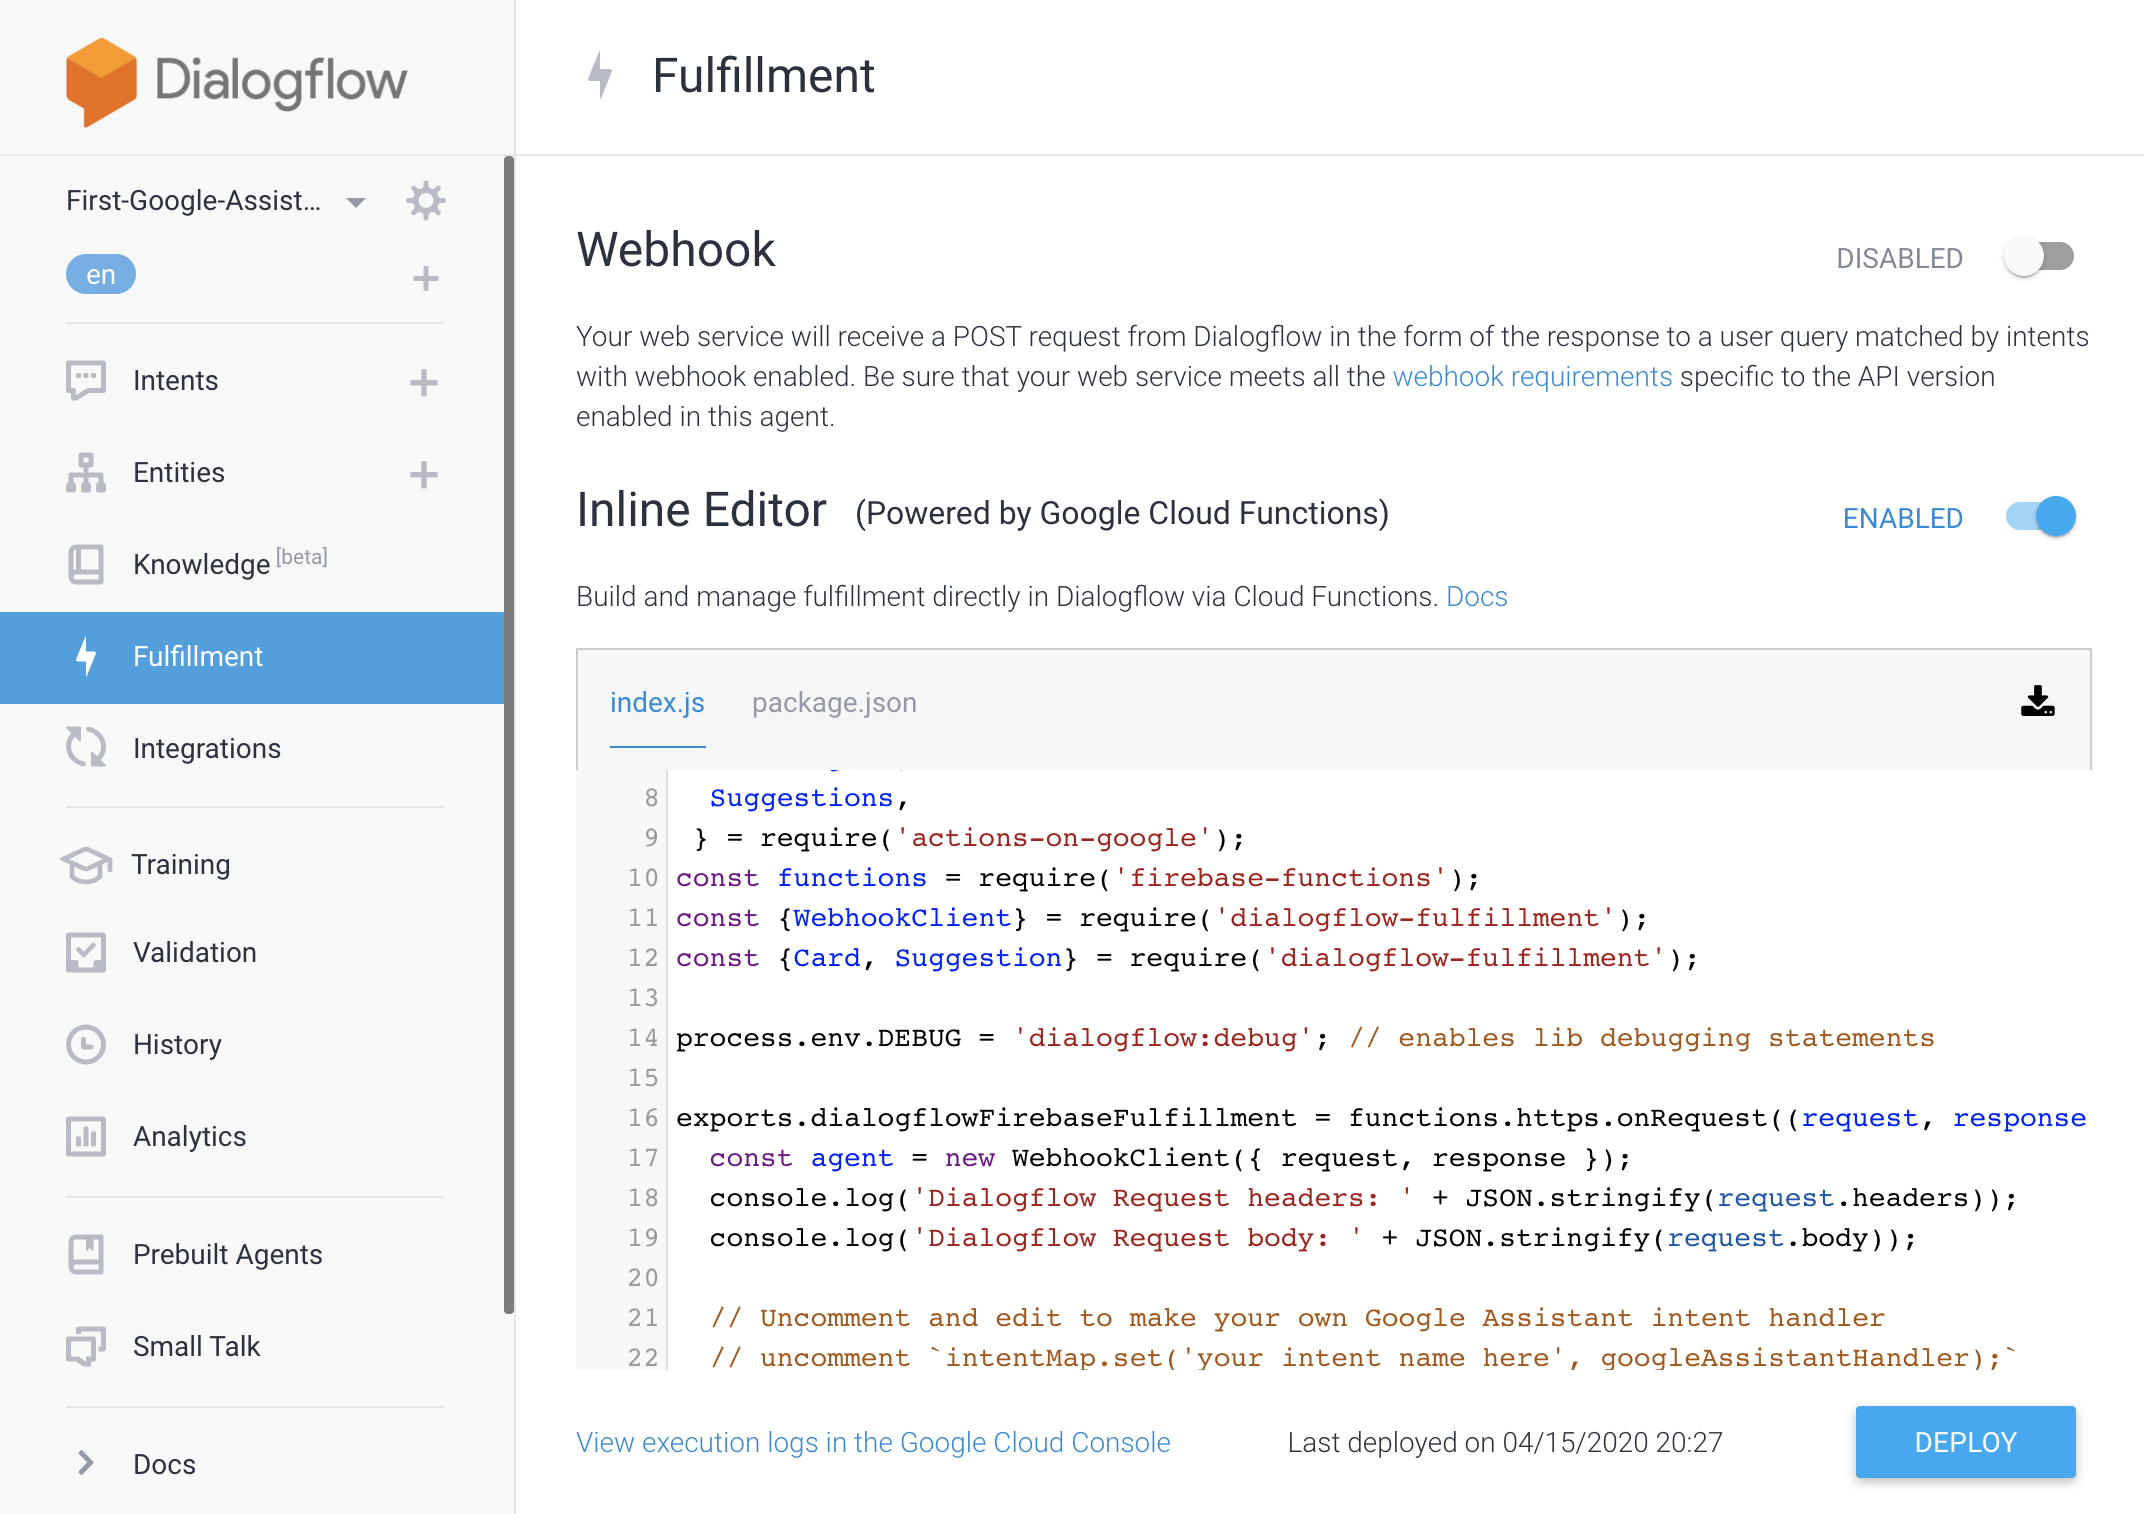
I will use the Cloud Function way for this example since we don’t need to worry about resource or storage thanks to its serverless nature.
First, you need to enable “Webhook” on the intent that needs to have custom logic. Second, click on the Fulfillment on the left navbar and enable Inline editor. Last, copy and paste the following code example and click on save. That’s it.
The code example will first say something then play an audio clip. If you need to play something else, e.g. a peronalized audio clip, you can replace the URL with your own thing, but then you would have to deal with access control.
Testing Your New App on Simulator
Click on “Google Assistant” on the right bar to open the Simulator on Google Actions. From there you can tinker with your app until you’re satisfied with it.

Deploying to your Google Home Device
Making your app available on Google Assistant Actions Portal sounds like a great idea, however the releasing process could take some time as Google needs to review and approve your app first. My post promised you a 10-minute ride, so let’s take a detour to get your freshly baked app deployed onto your own Google Home device as Alpha testing thus bypassing the approval steps.
On Actions console, click on “Deploy”, choose “Alpha”, click on “Manage Alpha Testers”, and add your own Google Home device account email here. You can then switch to your Google Home account and use the opt-in link received on the invitation email to accept the invite.
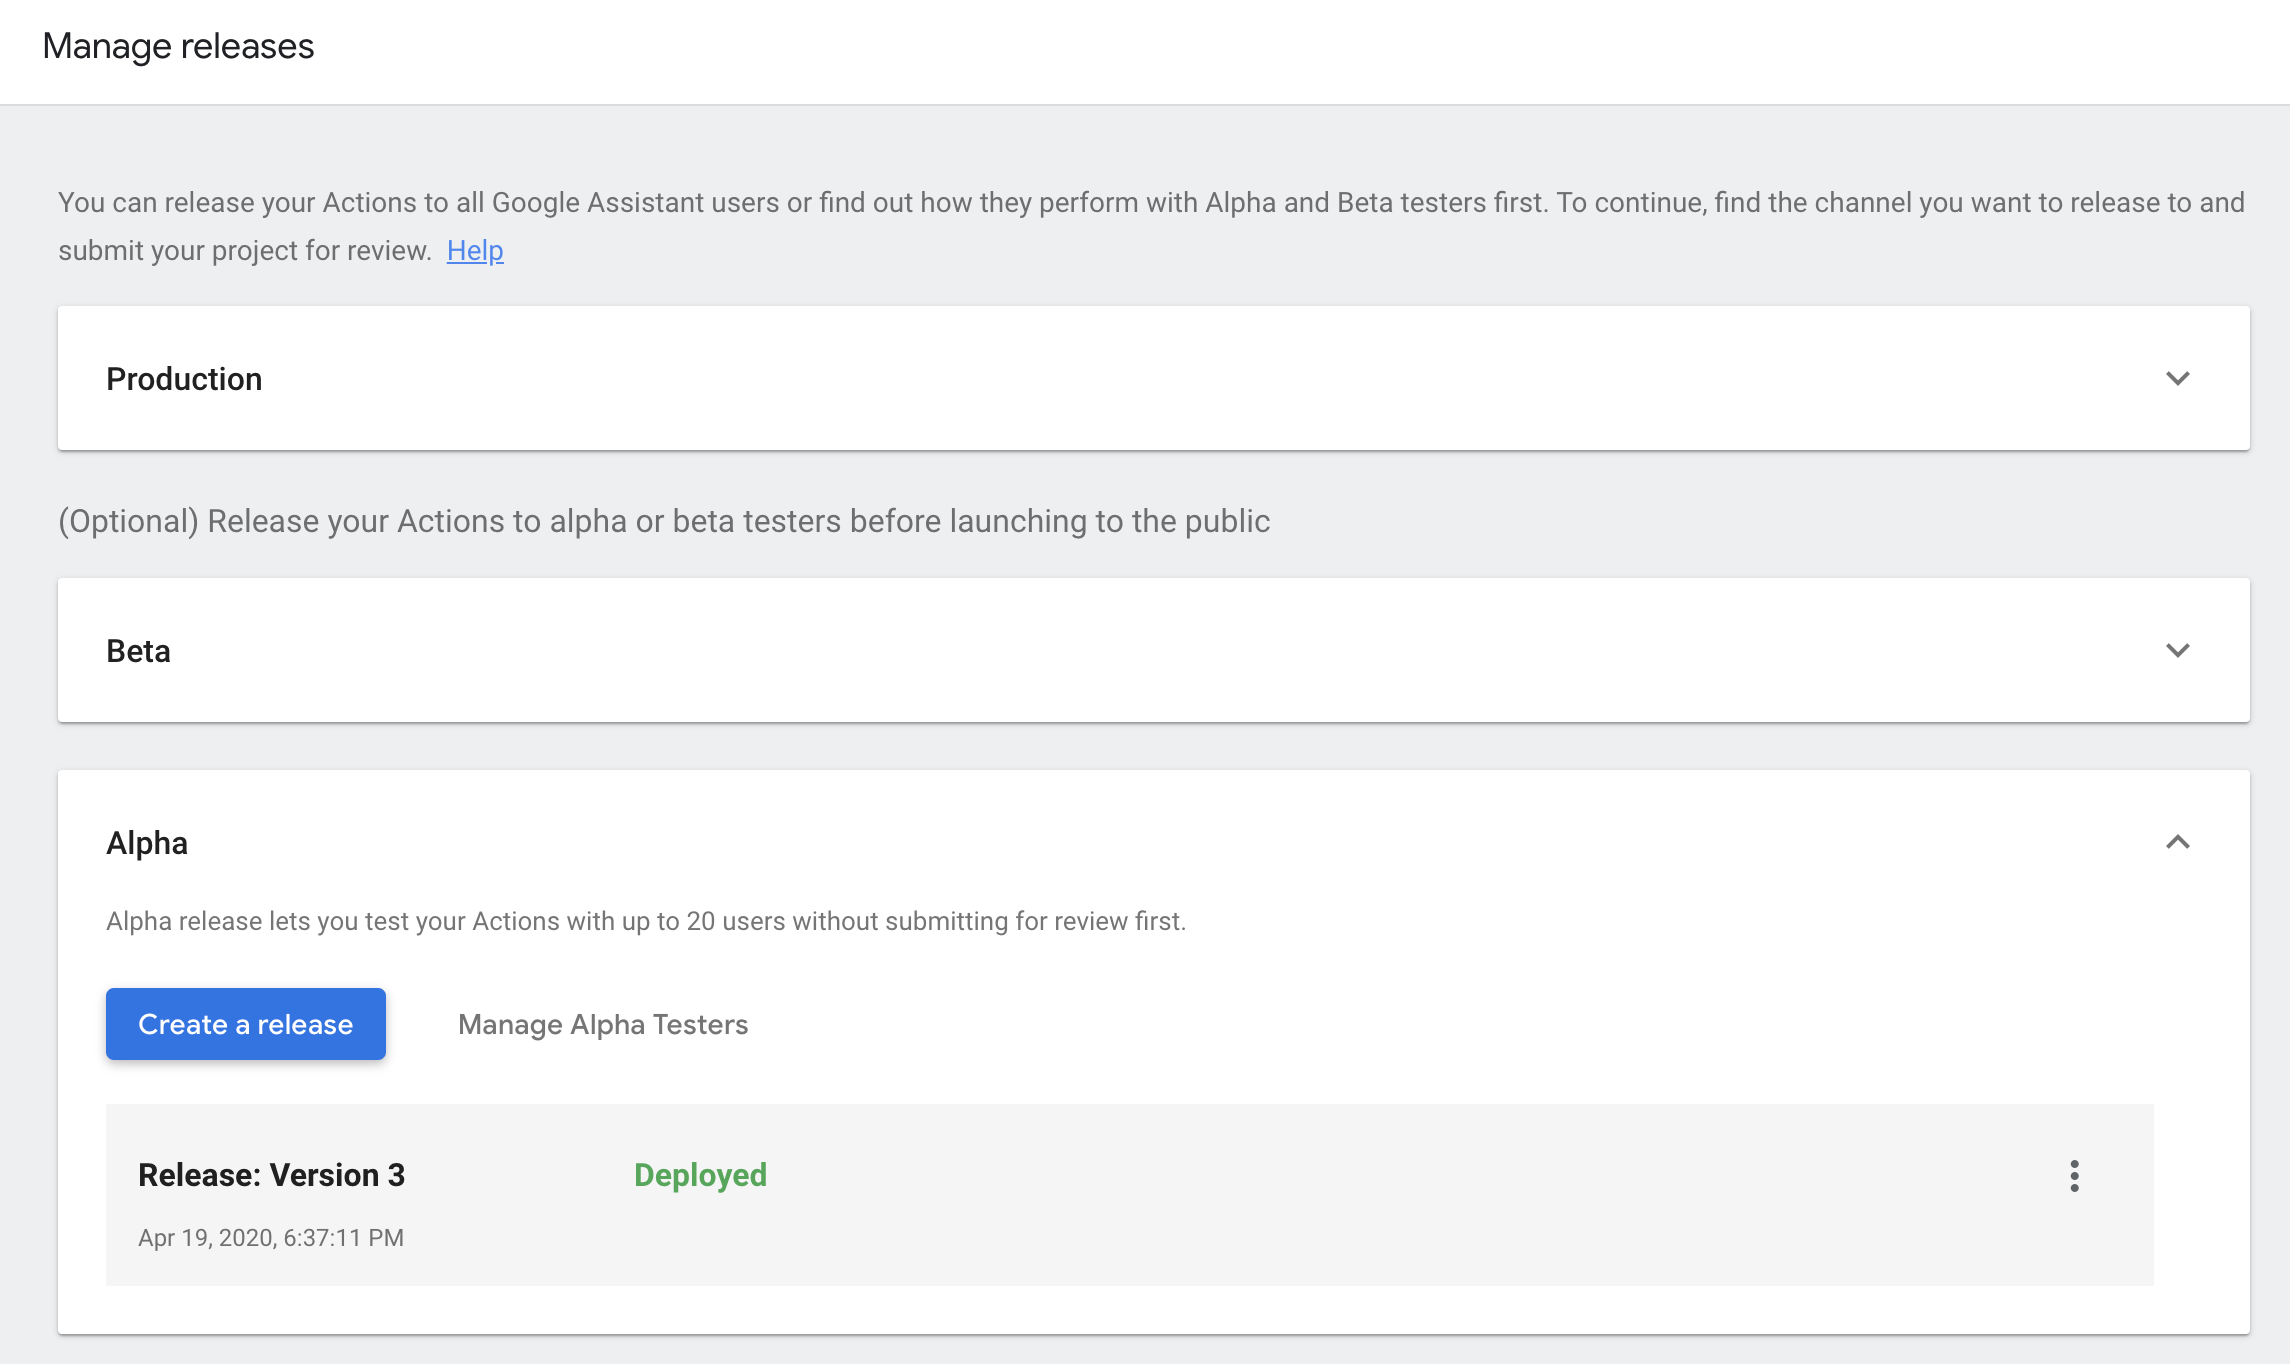
When it’s ready, click on “Create a release”, and wait it to complete. It can take a few minutes.
Congrats! You’ve just built and deployed your first Google Home app in 10 minutes! It’s time to say out loud “Hey Google, Talk to your_app_name_here” and see what will happen next :)